Agent Configuration Profiles - Console
 Updated 3 hours ago
by
admin
Updated 3 hours ago
by
admin
Agent Configuration profiles are used to manage remotely deployed Browse agents. Agents download their settings from their profile, so you can manage configuration centrally and use different settings for different types of device (for example fixed desktops or roaming laptops).
Viewing and updating Agent profiles
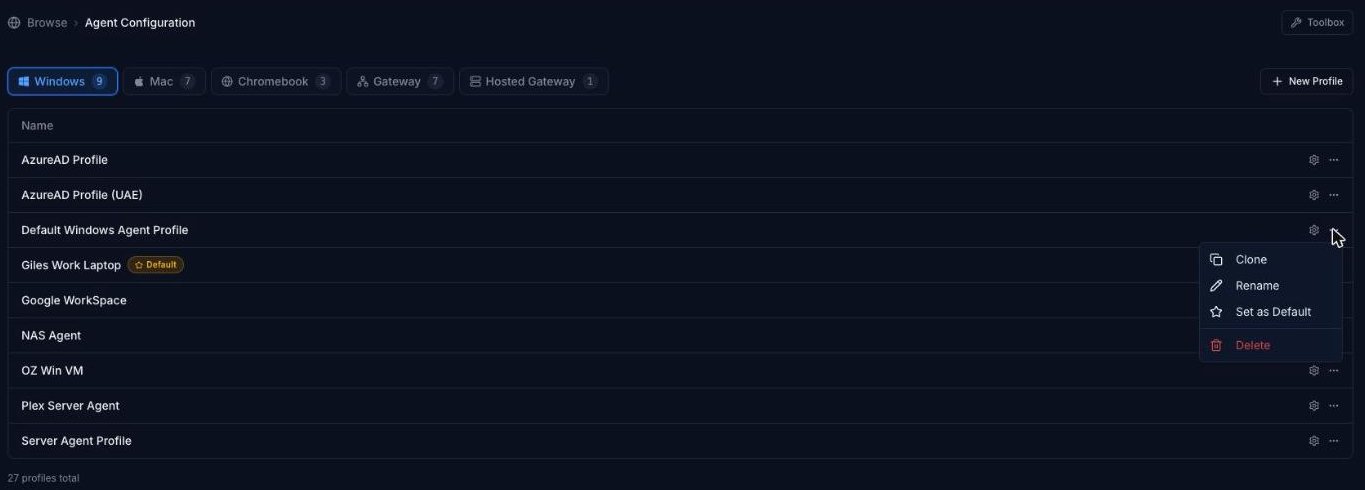
To see all your agent profiles, log in to the console and go to Browse ⟶ Agent Configuration in the left-hand menu.
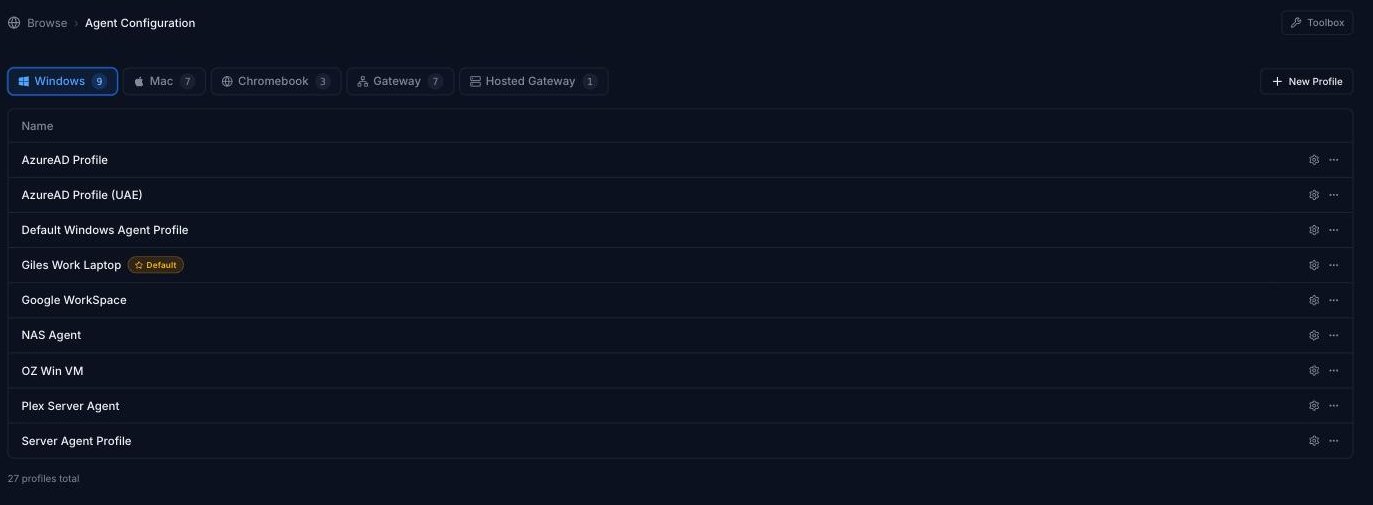
Profiles are grouped by agent type, with a tab for each: Windows, Mac, Chromebook, Gateway and Hosted Gateway. The number on each tab shows how many profiles of that type you have.
Default profiles
Every account has a default profile for each agent type. These give a basic configuration that you can then change.
The default profile for each type is marked with a Default badge. There can only be one per type.
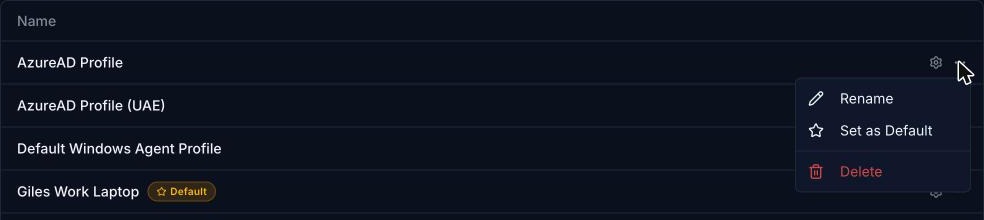
To change the default, click the ⋯ menu next to the profile you want and select Set as Default.
Creating a new profile
- Open the tab for the agent type you want (for example Windows). The new profile will be created for that type.
- Click New Profile.
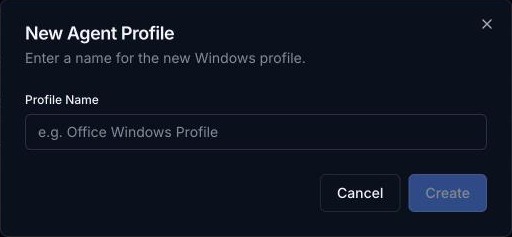
- Enter a sensible Profile Name and click Create.
Editing a profile
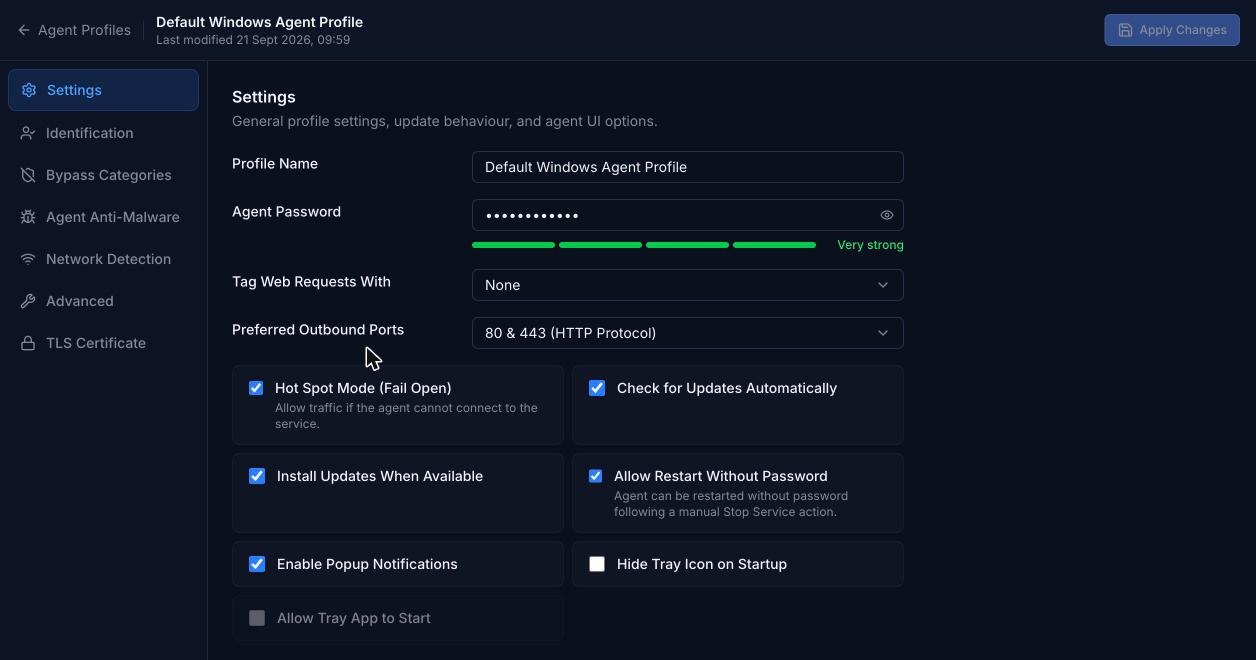
Click the profile name (or the gear icon next to it) to open the profile editor. Settings are grouped into sections in the left-hand menu:
- Settings: profile name, agent password, web request tagging, outbound ports, update behaviour and tray/notification options.
- Identification: how users and devices are identified.
- Bypass Categories: traffic that bypasses the agent.
- Agent Anti-Malware
- Network Detection
- Advanced
- TLS Certificate: the certificate used for TLS inspection.
Creating and managing tags from a profile
Tags identify where web traffic comes from (for example a site or device type) and can be used in the Tag condition in the Rule Builder. In a profile's Settings section, choose the tag for this profile from Tag Web Requests With.
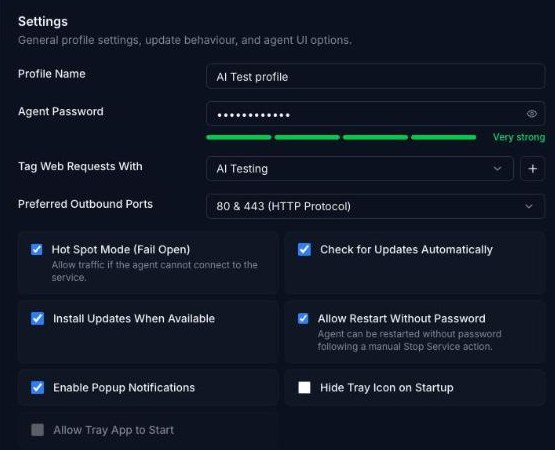
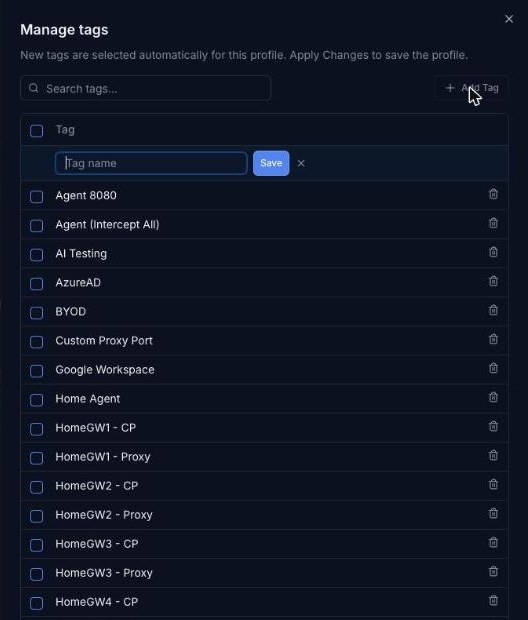
To create or manage tags without leaving the profile, click the + button next to Tag Web Requests With. In Manage tags:
- Click Add Tag, enter a Tag name and click Save. New tags are selected automatically for this profile.
- Use Search tags to find a tag.
- Click the bin icon at the end of a tag's row to delete it.
Make your changes and click Apply Changes (top right). Click Agent Profiles (top left) to go back to the list.
For a detailed explanation of each setting, see:
- Configuration options for the Windows agent type
- Configuration options for the Mac OS X agent type
- Configuration options for the Gateway agent type
Renaming a profile
Click the ⋯ menu next to the profile and select Rename. You can also change the name in the Profile Name field of the editor.
Deleting a profile
Click the ⋯ menu next to the profile and select Delete.
Cloning a profile
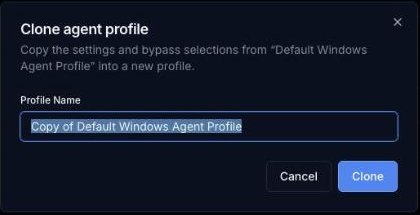
Cloning copies a profile's settings and bypass selections into a new profile, which is a quick way to create a variation of an existing configuration.
- Click the ⋯ menu next to the profile you want to copy and select Clone.
- Enter a Profile Name for the new profile (it defaults to Copy of followed by the original name).
- Click Clone.