Feature Control Rules
Feature Control Rules work alongside Filter Rules, and enable you to enforce control over third-party web services such as search engines, YouTube and Google Apps. Feature Control Rules are managed centrally through your Web Security dashboard, but are enforced by agents (either through a network gateway or via an endpoint agent on the user's device). Unlike Filter Rules, Feature Control Rules do not have Actions. They do, however, have Conditions and Matches just like Filter Rules.
Managing Feature Control Rules
To create a new Filter Control Rule, or to view or edit the Rules currently active on your account, visit your Dashboard, and click Security Modules -> Web Security -> Feature Controls.

The Feature Controls screen lists all the Filter Control Rules currently available for your Account.
Rules are listed on the Feature Controls screen in the order that they will be triggered (from top to bottom).
Changing Priority order
You can easily change the order in which your Rules are processed. Just left-click a Rule on the Feature Control screen, and drag-and-drop to change its position.
Creating a new Feature Control Rule
To create a new Rule, click the  button (in the top right corner). Give the Rule a friendly name, and then choose a Priority. The Priority dictates where the Rule should be placed in your Policy Rule table.
Editing Feature Control Rules
To edit a Rule, click the  button next to the Rule you want to edit on the Feature Control screen.

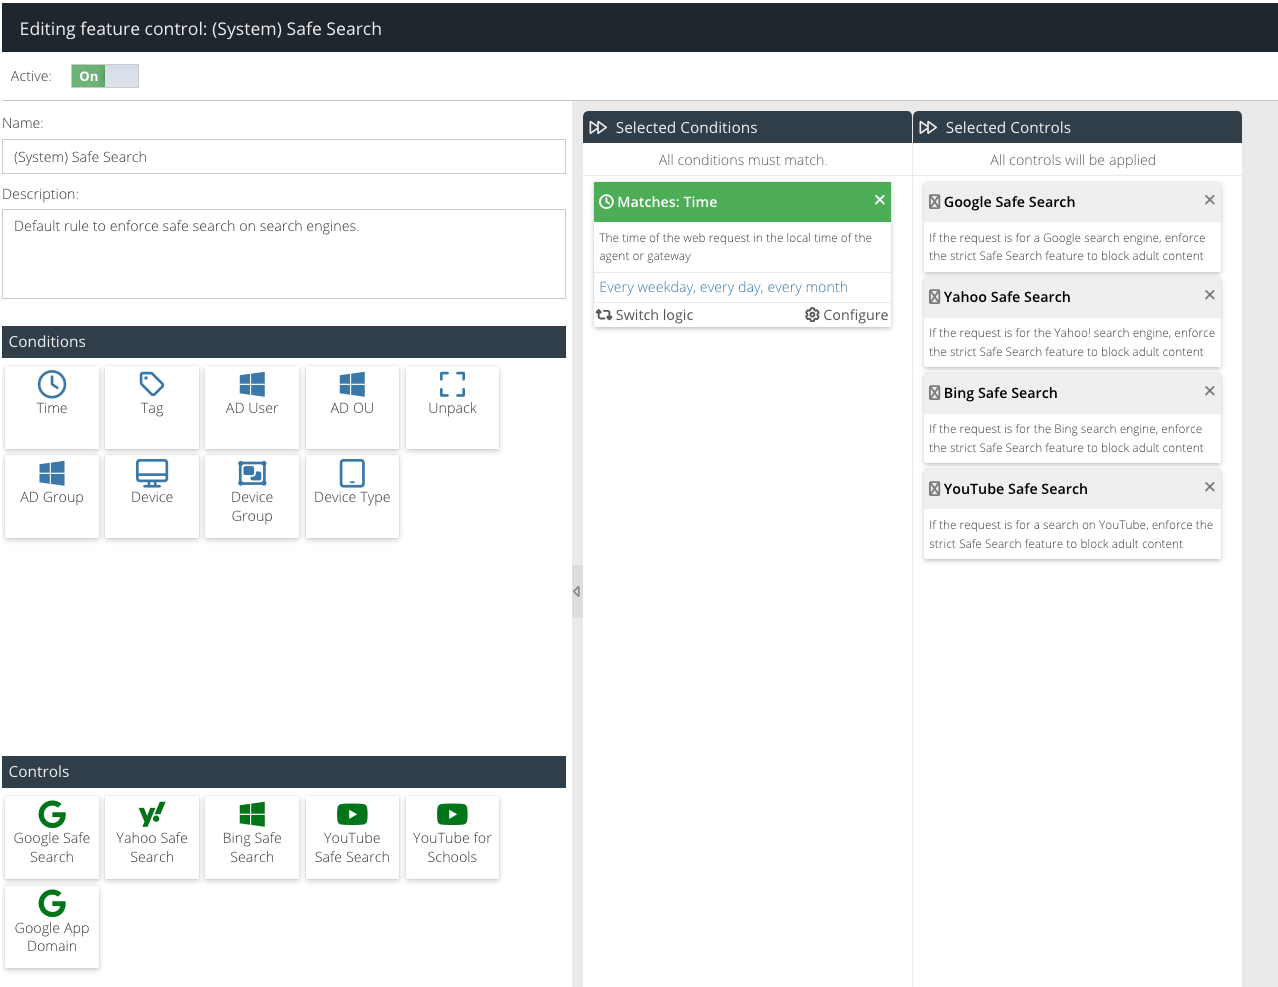
Editing a Rule will open the Rule Properties screen for that Rule. This screen shows in detail the Conditions and Matches that make up the Rule.
Details
You can edit the basic settings for the Rule in the details pane, at the top left of the Rule Properties screen.
Name: The friendly name for this Rule.
Description: A short description of the Rule. This text is optional, but can help to easily identify and differentiate Rules throughout the Web Security product.
Active: A check-mark indicates that this Rule is currently active. If the Active box is unchecked, the Rule is not currently active and will have no effect on web traffic. Inactive Rules will still be listed on the Feature Controls screen.
Selected Conditions
The Selected Conditions panel specifies the conditions that must be true in order for the Rule to trigger.
You can add a new Condition by simply dragging the relevant icon from the Conditions panel to the Selected Conditions column.
- Click
 to modify an existing Condition.
 - Click
 to toggle the logic used to match the Condition - either "must match" or "must not match".
 - Click
 to remove a Condition from the Selected Conditions column.
Selected Controls
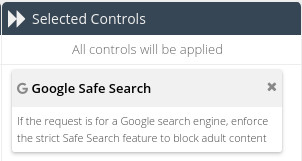
The Selected Controls column allows you to specify what actions should be taken if the Selected Conditions column is triggered for this Rule.

To choose a Control, drag an icon from the Controls panel to the Selected Controls column.
Click  to remove an Action from the Selected Actions column.