Building a Simulation using On-Demand
![]() Updated 1 year ago
by
admin
Updated 1 year ago
by
admin
This short guide will take you through how to create a sim using the 'Add Sim' function in On-Demand
Currently, a SIM has been created it cannot be removed by the admin. If you require a SIM deletion, please contact your Service Provider
- Navigate to the USS dashboard
- Select Products then select SAT - Administration
- Click on the On-Demand on the left-hand side.
- On section 1, select the dropdown box named Choose an option to send, click the down arrow and select Simulation.
- Click the Add Sim button, The sim creation window will now appear as shown below:
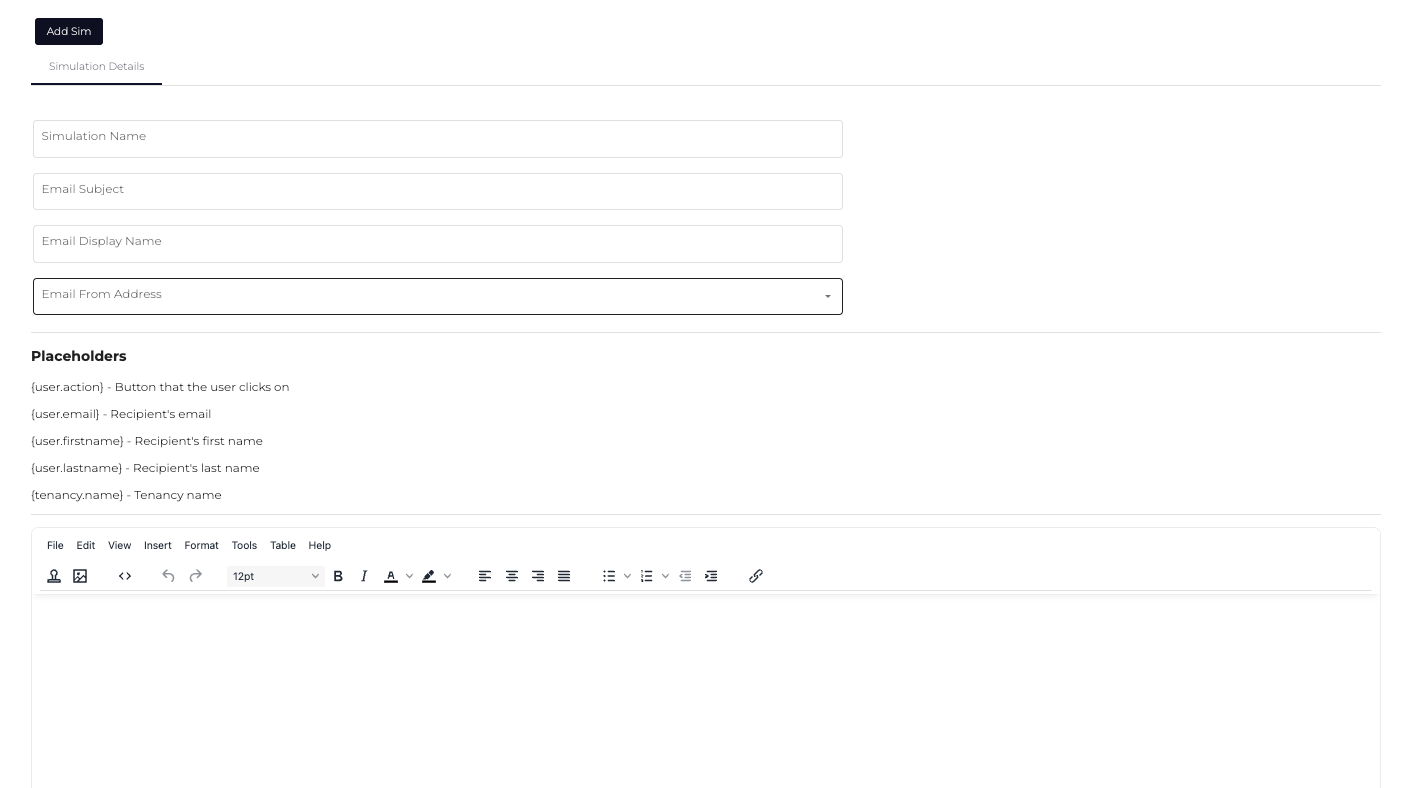
- First, you'll need to input the Campaign name for the simulation.
This is how the Simulation will read in On-Demand once saved. This is not editable once created.
- Input the Subject of the simulation email.
- Input the Display name for the simulation email:
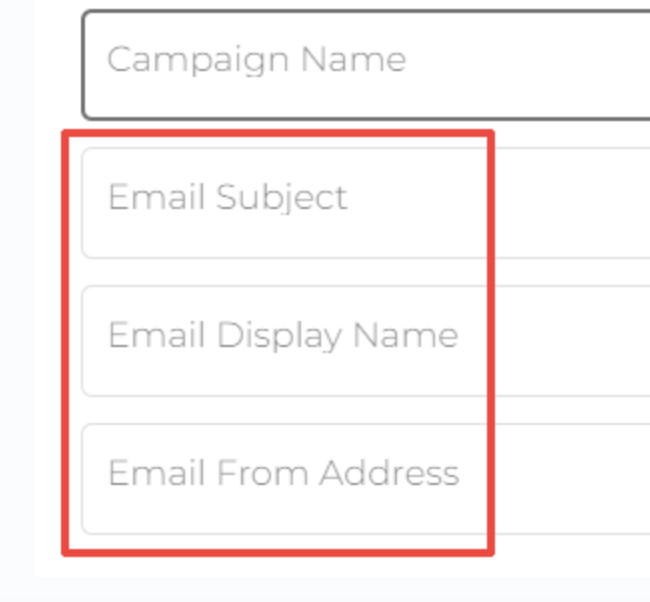
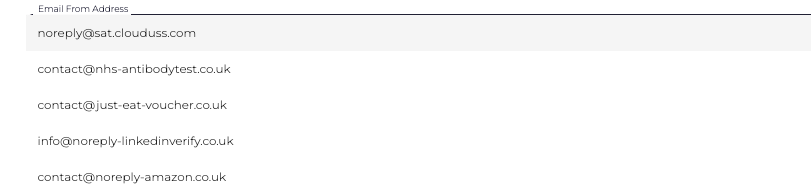
- In the Email from Address box, click the dropdown and select a relevant domain for your simulation:
- Use the Sim Creation Tool to add your simulation bodyFor help on how to use this tool, please see the Using the Sim Creation Tool KB
- Click Add Sim in the top left of the window, shown below: